
Chewy Choco Delights

What to Expect
• Thick, chunky cookies
• Crisp edges + super chewy centers
• Melty chocolate pools
• 100% eggless
Ingredients
Dry Ingredients
• 1 ½ cups (190g) all-purpose flour
• 1 tbsp milk powder (for chewiness)
• 1 tbsp cornstarch (keeps the center soft & chewy)
• ½ tsp baking soda
• ¼ tsp salt
Wet Ingredients
• ½ cup (115g) unsalted butter, softened
• ½ cup (100g) light brown sugar
• ¼ cup (50g) granulated sugar
• 3 tbsp milk (room temp)
• 1 tbsp neutral oil (adds chewiness)
• 1 tsp vanilla extract
Mix-ins
• ¾ cup (120g) semi-sweet chocolate chips or chunks
• Extra chips for topping
Instructions
1. Prep
• Line a baking tray with parchment paper.
• Preheat oven to 180°C (350°F).
2. Cream butter + sugars
• Beat the softened butter with brown sugar and white sugar until smooth and creamy. 3. Add wet ingredients
• Add milk, vanilla extract, and oil.
• Mix until combined (don’t overbeat).
4. Combine dry ingredients
• Sift together the flour, milk powder, cornstarch, baking soda, and salt.
• Add to the wet mixture and fold gently.
5. Add chocolate
• Fold in the chocolate chips/chunks evenly.
6. Chill the dough (Most Important for Chewiness!)
• Chill for at least 2 hours, or overnight for best texture.
7. Shape the cookies
• Scoop 80–90g dough balls.
• Place them on a baking tray with good spacing.
• Press extra chocolate chips on top.
8. Bake
• Bake for 10–12 minutes.
• Edges should look set, but the centers must still look soft and slightly underdone (they firm up as they cool, giving that NYC chew).
9. Cool
• Let cookies cool on the tray for 10 minutes before moving.
Best Ways to Heat Cookies Before Eating
1. Microwave (Fastest + Gooey Center)
• Heat for 8–10 seconds for one cookie.
• The center becomes melty while the outside stays soft.
Tip: Place a damp paper towel over the cookie to prevent drying.
2. Oven (Best for crisp edges + warm center)
• Preheat to 160°C (320°F).
• Warm the cookies for 3–5 minutes.
• This gives crisp edges and a perfectly warmed interior.
3. Air Fryer (Quick & crispy edges)
• Set to 150–160°C (300–320°F).
• Heat for 1–2 minutes only.
• Great if you like slightly crisp exteriors.
4. Stove-Top / Tawa Method (For when you don’t have an oven)
• Heat a tawa/pan on low flame.
• Place cookies on the pan and cover with a lid.
• Warm for 2–3 minutes.
• Gives warm, soft cookies without burning.
Storage Tips
• Store in an airtight container for 4–5 days.
• Add a slice of bread to keep them soft (replace every 2 days).
• Freeze unbaked dough balls for up to 2 months.
• Bake from frozen by adding +2 minutes extra.
The Ras-Mousse
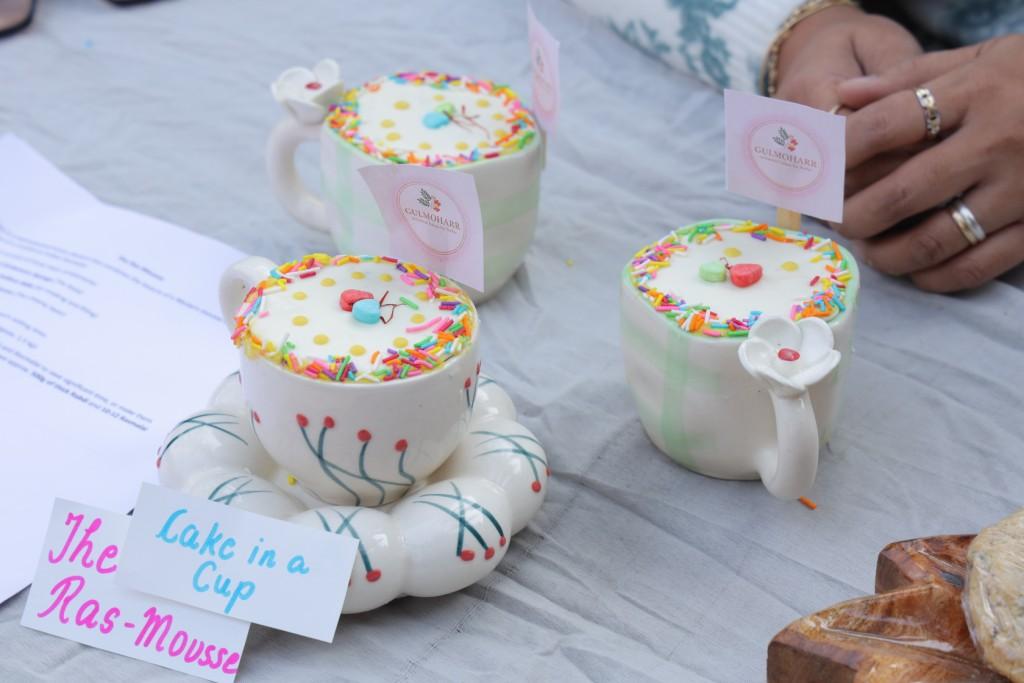
This is a sophisticated fusion dessert that combines the texture of a Western mousse cake with the flavors of a traditional Indian Rasmalai.
This recipe consists of three main components:
1. Eggless Cardamom Sponge (The base)
2. Rasmalai & Saffron Milk (For soaking and filling)
3. Eggless Rabdi Mousse (The creamy layer)
Prep & Planning
• Total Time: 3–4 hours + 6 hours setting time.
• Yield: One 8-inch Round Cake (approx. 1.5 kg).
• Note: You can use store-bought Rabdi and Rasmalai to save significant time, or make them from scratch. This recipe assumes you have approx. 500g of thick Rabdi and 10-12 Rasmalai pieces ready.
Part 1: Eggless Cardamom Sponge Cake
A soft, porous sponge designed to soak up the saffron milk.
Ingredients:
• 1.5 cups All-Purpose Flour (Maida)
• 1 tsp Baking Powder
• ½ tsp Baking Soda
• 1 tsp Cardamom Powder (Elaichi)
• 1 cup Curd/Yogurt (thick, not sour)
• ¾ cup Granulated Sugar
• ½ cup Oil (flavorless, like Sunflower or Canola)
• 1 tsp Vanilla Essence or Rose Water
Method:
1. Preheat oven to 180°C (350°F). Grease and line an 8-inch round cake tin.
2. Whisk Wet Ingredients: In a large bowl, whisk yogurt and sugar until the sugar dissolves completely. Add the baking soda and baking powder to this wet mixture and let it sit for 5 minutes. It will become frothy.
3. Add Fat: Whisk in the oil and vanilla/rose water until well combined.
4. Fold Dry Ingredients: Sift the flour and cardamom powder together. Gently fold them into the wet mixture using a spatula. Do not overmix (or the cake will be dense).
5. Bake: Pour batter into the tin. Bake for 30–35 minutes or until a toothpick comes out clean.
6. Cool: Let the cake cool completely. Once cool, slice it horizontally into 2 even layers. Part 2: The Soaking Syrup (Ras)
You can use the milk from the store-bought Rasmalai, or make a quick version. Ingredients:
• 1 cup Milk
• 2 tbsp Sugar
• A pinch of Saffron strands (Kesar)
• ½ tsp Cardamom Powder
Method:
1. Warm the milk slightly.
2. Add sugar, saffron, and cardamom. Stir until sugar dissolves and the milk turns a pale yellow. 3. Set aside to cool.
Part 3: Eggless Rabdi Mousse
This is the star element. We use White Chocolate and Agar Agar to set the mousse without gelatin. Ingredients:
• White Chocolate: 150g (chopped)
• Thick Rabdi: 1 cup (approx 200g – remove large lumpy nuts if needed)
• Whipping Cream (High fat/Tropolite/Rich’s): 1.5 cups (chilled)
Method:
1. Whip Cream: In a separate chilled bowl, whip the 1.5 cups Whipping Cream to soft peaks (not stiff peaks, or it will be grainy).
2. Fold Mousse: Gently fold the cooled Rabdi-Chocolate mixture into the whipped cream. Your mousse is ready.
Part 4: Assembly (The Layering)
You will need a loose-bottom tin or a cake ring (8-inch) for best results, as this is a mousse cake. 1. Layer 1 (Sponge): Place the first layer of sponge cake at the bottom of the ring/tin.
2. Soak: Generously brush the sponge with the Ras (Soaking Syrup). It should be moist but not leaking.
3. Rasmalai Chunks: Squeeze the excess milk out of 3-4 Rasmalai pieces and crumble them over the sponge layer.
4. Layer 2 (Mousse): Pour half of the Rabdi Mousse over the sponge. Level it with a spatula. 5. Layer 3 (Sponge): Place the second sponge layer gently on top of the mousse.
6. Soak: Repeat the soaking process with the syrup.
7. Layer 4 (Mousse): Pour the remaining mousse over the top. Smooth the surface using a palette knife. 8. Set: Refrigerate the cake for at least 6 to 8 hours (or overnight) to let the mousse firm up completely.
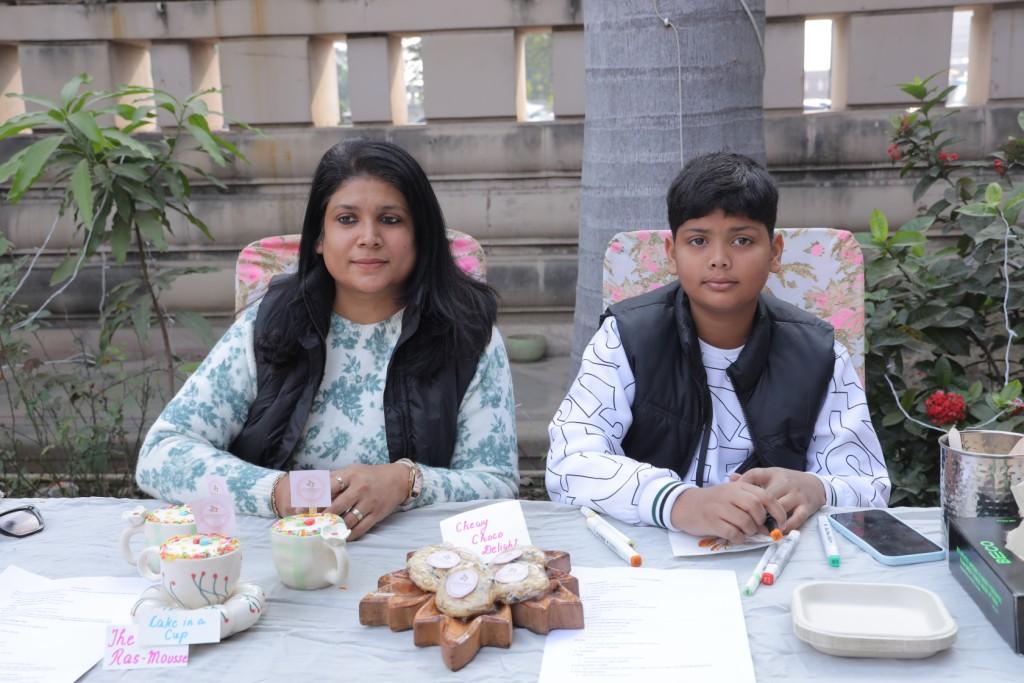
Shared by :  Neha Singh
About :
 Neha  blends her professional worlds as a Content Writer and Corporate Trainer with a deep-rooted love for culinary arts. What began as kitchen experiments has blossomed into Gulmoharr—her promise of serving honest, unadulterated flavors. She  specializes in handcrafting unique, customized cookies, ensuring every bite reflects  commitment to purity and authentic taste.


